以下のディレクトリ内のpngを新しいアイコンに変更しても反映されない
—res
+—drawable
| ic_launcher_background.xml
|
+—drawable-hdpi
| ic_stat_speeger_mojinashi.png
|
+—drawable-mdpi
| ic_stat_speeger_mojinashi.png
|
+—drawable-v24
| ic_launcher_foreground.xml
|
+—drawable-xhdpi
| ic_stat_speeger_mojinashi.png
|
+—drawable-xxhdpi
| ic_stat_speeger_mojinashi.png
|
+—drawable-xxxhdpi
| ic_stat_speeger_mojinashi.png
|
+—layout
| activity_main.xml
|
+—mipmap-anydpi-v26
| ic_launcher.xml
| ic_launcher_round.xml
|
+—mipmap-hdpi
| ic_launcher_foreground.png
|
+—mipmap-mdpi
| ic_launcher_foreground.png
|
+—mipmap-xhdpi
| ic_launcher_foreground.png
|
+—mipmap-xxhdpi
| ic_launcher_foreground.png
|
+—mipmap-xxxhdpi
| ic_launcher_foreground.png
|
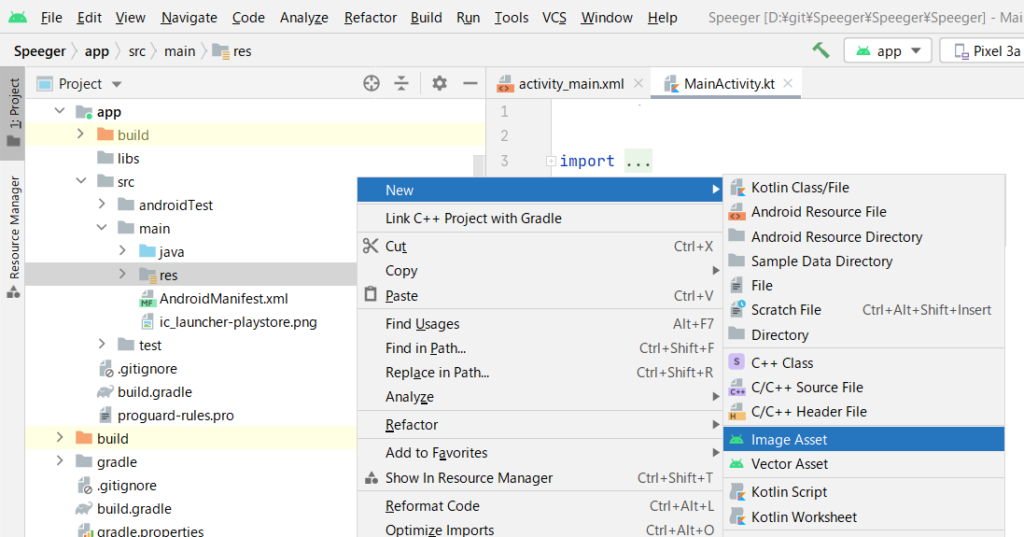
反映させる方法
android studio のresフォルダをマウス右クリックし、Image Assetをクリックする
Pathに新しく作成したpngファイルを選択する
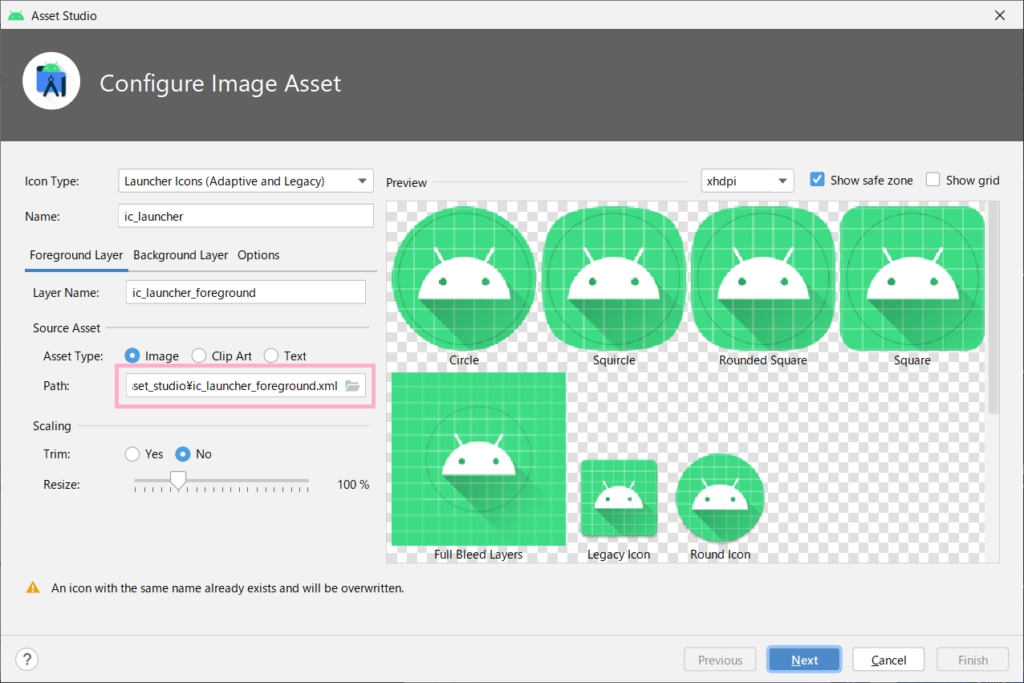
Resizeにより表示する画像の大きさを調整する
Trimにより画像の外側のトリムも可能